Canning tomatoes for the winter. As we are nearing the end of our summer tomato season there is no better time than NOW to package up all that fresh yummy flavor to savor for the winter. You don’t have to be a canning guru to have fun and spend minimal time doing this. Kids love to help with canning too and there is no denying how great a pantry filled with home made concoctions looks to passers-by.
A few safety cautions before we begin…
-Always use jars and lids approved for home canning use.
-If the jar doesn’t seal properly, refrigerate immediately and eat within a month.
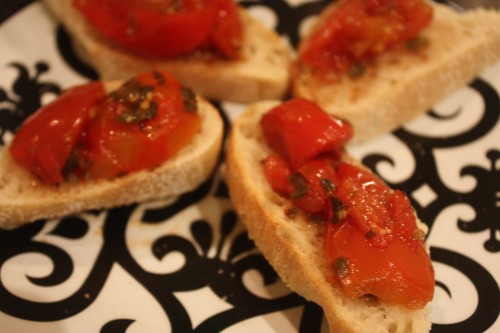
Bruschetta in a Jar
Ingredients
2 TBS dried basil
5 cloves garlic, finely chopped
2 TBS dried oregano
2 TBS sugar
1/2 cup water
1 cup dry white wine
1 cup white wine vinegar
2 TBS balsamic vinegar
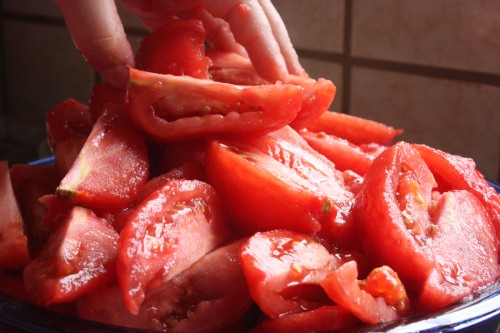
9 cups plum tomatoes chopped (1 inch), cored
Directions
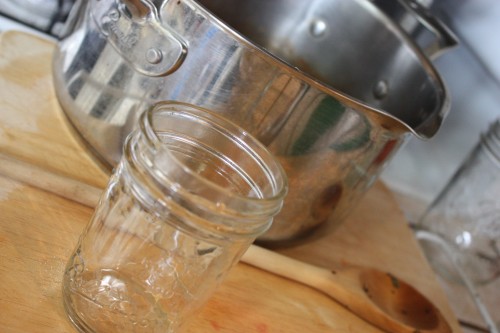
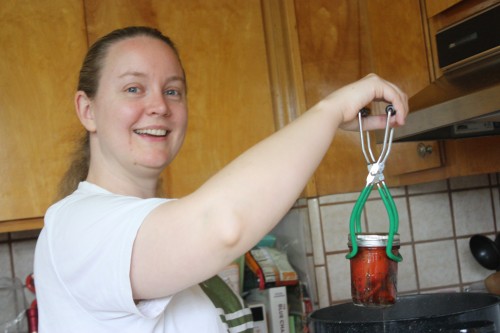
Prepare canner, jars and lids. (If you’ve never canned, then let me give you a few more details: Prep the jars and lids for canning following the procedures for boiling water canning. Place lids in a small saucepan half full of water and place on low heat. Put the metal rack in the bottom of the stock pot or boiling water canner. If using screw bands, place them top up in the bottom. The purpose of the rack is to keep the jars from direct contact with the heated metal at the bottom of the pot, which could cause them to scorch or break. Place your clean jars into the canner and fill the container (and jars) half full of water. Turn on the stove to medium heat. Remove a jar from the boiling water canner, by this point the water in the canner should be pretty hot so use the jar lifter. DON’T put the jar directly on the counter as the change in temperature between the oven and the counter will cause the jars to break. It is best to place the jars either on a folded kitchen towel or a wooden surface.)
In a large, deep stainless steel saucepan, combine basil, garlic, oregano, sugar, vinegars, water and wine. Bring to a boil over high heat, stirring occasionally. Reduce heat, cover and boil gently for 5 minutes, until garlic is heated through. Remove from heat and set aside.
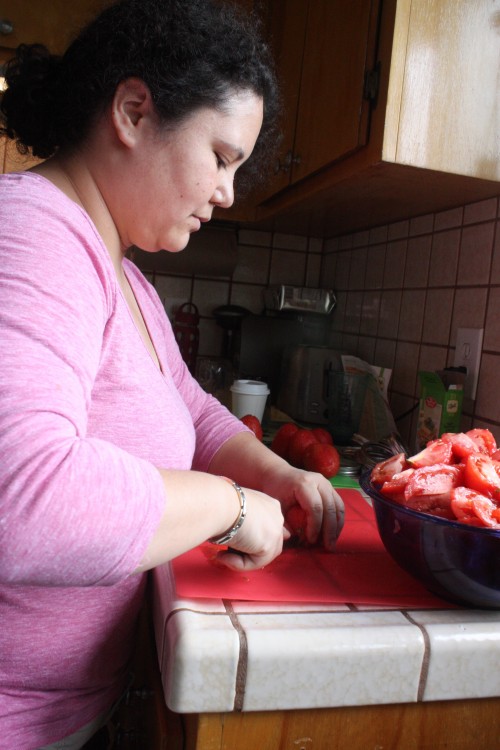
Slice tomatoes and drain in a colander for 30 minutes to remove excess liquid. Save this juice as it goes beautifully into an oil and vinegar-based salad dressing.
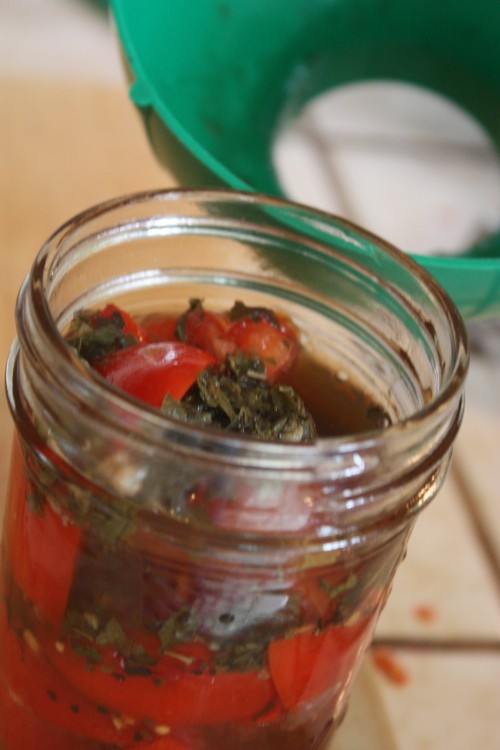
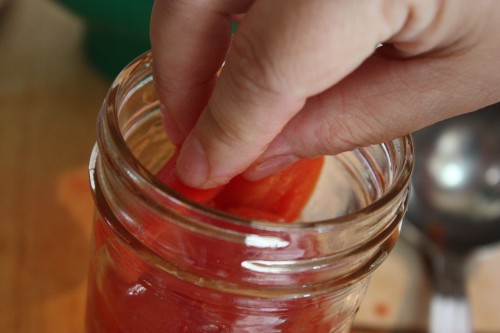
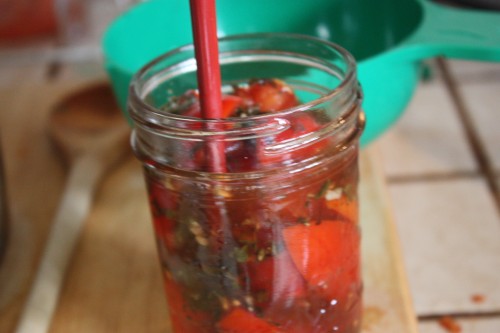
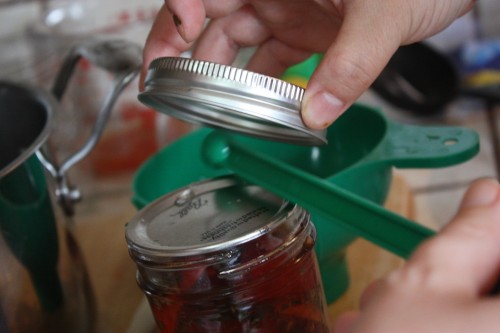
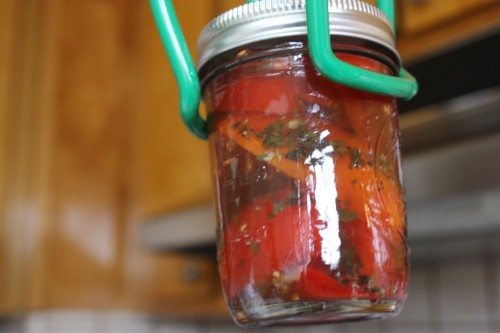
Pack tomatoes into hot jars to within a 1/2 inch of top of jar. Ladle hot vinegar mixture into jar to cover tomatoes, leaving 1/2 inch headspace. Creating proper headspace in each jar is essential to achieving a proper seal and being able to safely store your jam. This is where the clear plastic ruler comes in handy. Remove any air bubbles by poking down into the mixture with chopstick or skewer. Clean the rim of the jar with a damp paper towel to make sure there’s no stray juice to interfere with the seal. Center lid on jar. Cap the jar with your lid and tighten the screw band until it is fingertip tight.
Place the jar back into the boiling water canner using your jar lifter. Once all your jars are filled, make sure they are completely covered with water (you may have to add a bit of additional water to the canner). Bring the water to a boil and then set your timer for 20 minutes. (Add 1 minute onto this time for each 1,000 ft above sea level.) When the timer goes off, remove the canner lid and wait 5 minutes. Why 5 minutes? If you don’t wait a few minutes the jostling of removing them from the canner could keep the jars from sealing. Another important tip is to remember to keep your jars upright as you remove them, titling to the side can also interfere with the seal. There’s nothing more satisfying than hearing “POP!” from across the room and knowing your jars are sealing, but you can’t sit around for a whole day for that sound.
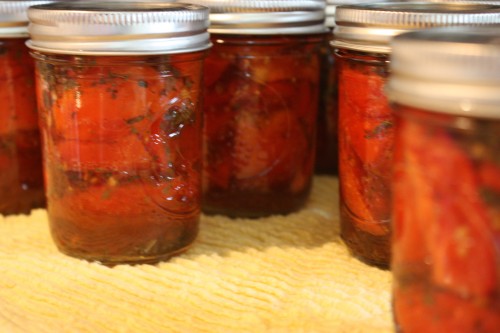
In 24 hours go back and check all your jars. If you push down on the top and the lid gives, you didn’t get a solid seal. Immediately refrigerate or reprocess that jar. I usually take it one step further by taking off the screw band and holding the jar up by just its lid (with the other hand ready to catch, of course). If the lid doesn’t spring up and I can hold it up by just the edges of the metal lid, it’s got a nice seal.
Note: For this recipe, plum tomatoes work better than glove tomatoes, as their flesh is firmer and retains its shape during processing which is ideal for bruschetta. Plum tomatoes do not need to be drained because they yield little liquid. However, if unable to find plum tomatoes, glove tomatoes can be used.
Special thanks to Madge, my go-to canning gal, for organizing and hosting such a power house canning day. Jessica and I made a great team as we prepared over 30 lbs of tomatoes for an assortment of recipes. Stay tuned for more canned tomato deliciousness to be posted soon.


Oh how fantastic, I love this idea! Just imagine that summer juicy tomato bruschetta flavor in February when the tomatoes are pale orange golf balls…