Typically I L-O-V-E to decorate the house for Halloween. All of the silly decorations and fun ‘spooky’ lighting add extra excitement to the holiday vibe. In our house we all have our favorite decorations. I love to put the skeleton head on my cake plate in the kitchen and watch for reactions as guests spot it in place of the very believable fake cake I typically have on display. The kids love to place our magical book on the living room table which loudly rattles and screams every time someone walks by >no matter how much we anticipate it, somehow it still manages to startle us when we least expect it< And My Guy, is hooked on skeletons. >Perhaps ‘obsessed’ is a better word to use for his skeleton fixation. Nearly every time he goes to Target at this time of year he comes home with a new one. Yes, we’ve started to name them!<

This year, things took another path, and the decorations were not up on their usual weekend. And then things got unexpectedly serious and it seemed like far too much effort to spend decorating when it was all I could do to keep up with my job, doctors appointments, spending time with My Guy, the children and my mother, so I figured we could manage with the few new skeleton additions, two pumpkins and a bowl of candy. So far no one has complained, so I am not pushing the issue. There are plenty of other things to focus on…but I do miss seeing all of those reminiscent childhood decorations. Fortunately, I am a also a collector of photo memories. One night this past week when I was feeling nostalgic I realized that I had saved a few photos of my prized Halloween treats and other cute pictures, which I thought might be a fun way to dress up this post and inspire your Halloween-themed food as we head into the final countdown.
While there are set not recipes, you can easily see how these fun ideas were created from my photo journaling. Enjoy a few ghoulish treats to bring fun and creativity into your kitchen:
– Halloween Lunch
– Spider Deviled Eggs
– Skeleton Cake
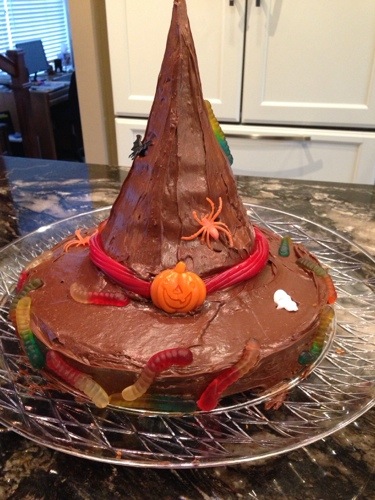
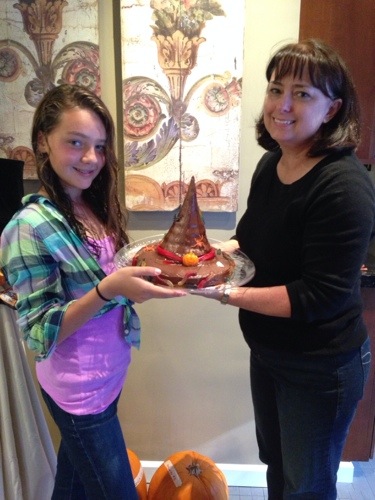
– Witches Hat Cake
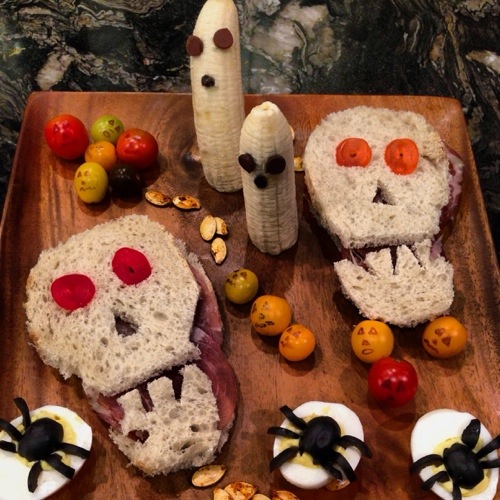
Halloween Lunch: Skeleton Sandwich, ghost bananas and scary cheery tomatoes decorated with an edible ink pen. Often edible ink pens can be found in the baking section of the supermarket. I typically use sliced sourdough loaf to make these sandwiches since the shape of the bread is a bit more oblong in shape as opposed to regular sandwich bread. I hand draw a template to use as a guide for the skeleton head and then carefully cut out the bread shape and make the few additional details to the top slice. For the ghost bananas I use a combination of regular and mini chocolate chips to decorate their faces. If packing in a lunch box, wrap banana carefully in wax paper and sprinkle a slight amount of lemon juice on it to keep it from turning brown.
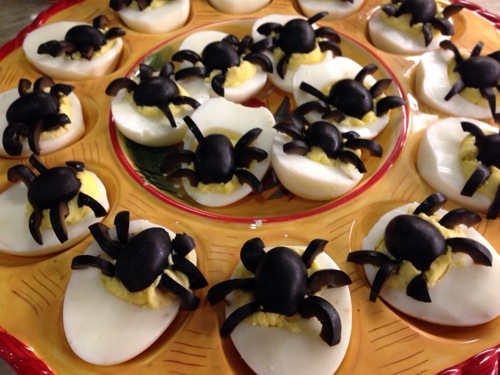
Spider Deviled Eggs: It is a Halloween tradition! Last year I posted a spin on my traditional recipe. You can check out this post for more detailed directions. It is a great do-ahead appetizer to bring to a party.
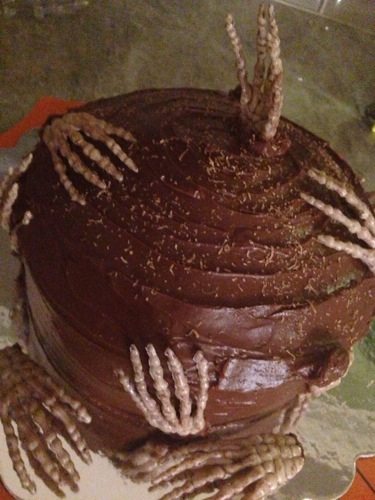
Skeleton Cake: My daughter and I were at the craft store and saw this bag of skeleton hands and wondered what we could do with them. She had signed up for a fund-raising cake walk and decided she could use these for her decorations. We baked a three layer chocolate cake, smothered it with chocolate frosting and placed a few skeleton hands on it and voila! It was adorable.
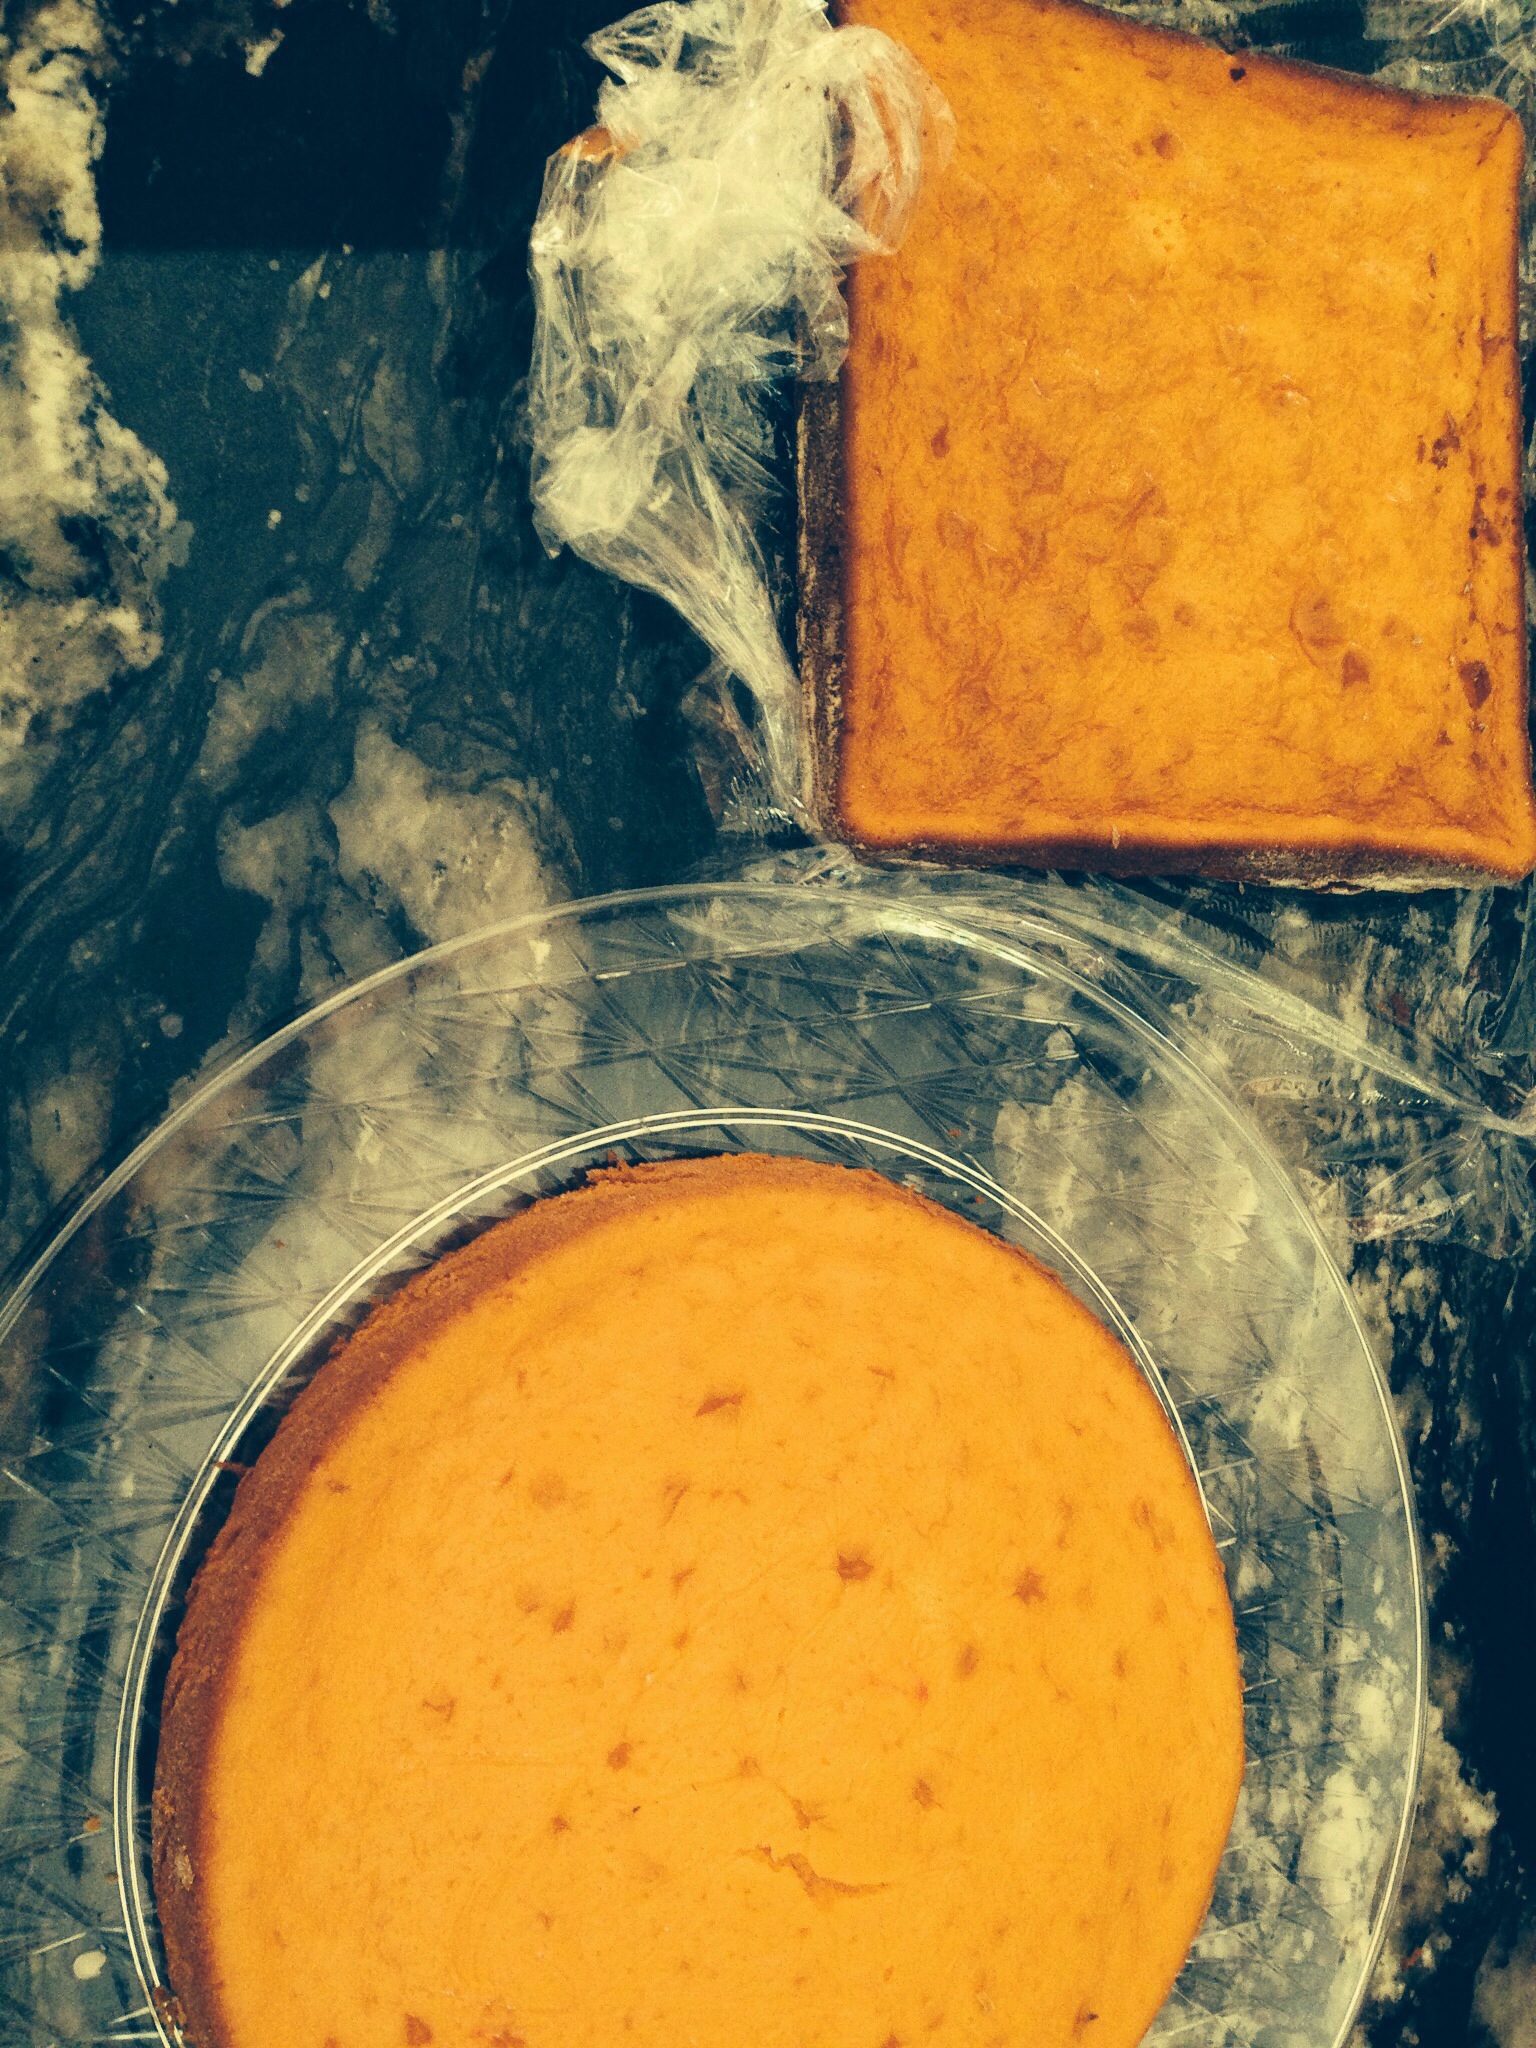
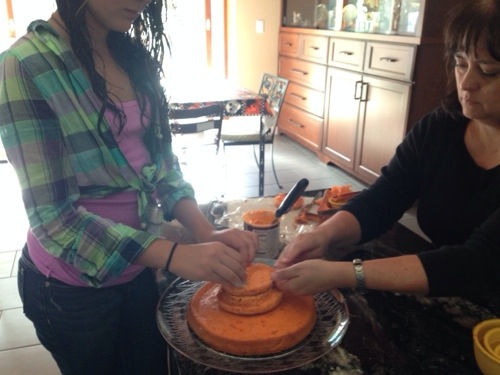
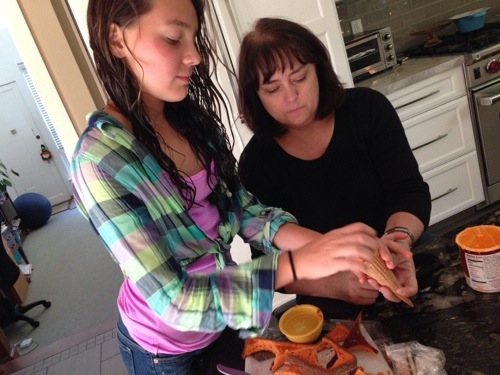
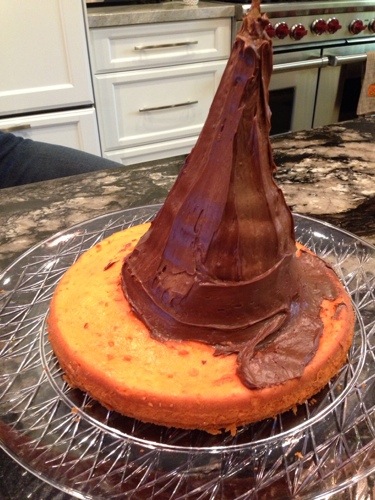
Witches Hat Cake: There are plenty of recipes out there to help you create this cake. Two yellow cakes were made a day ahead of time by our friend Suzie.
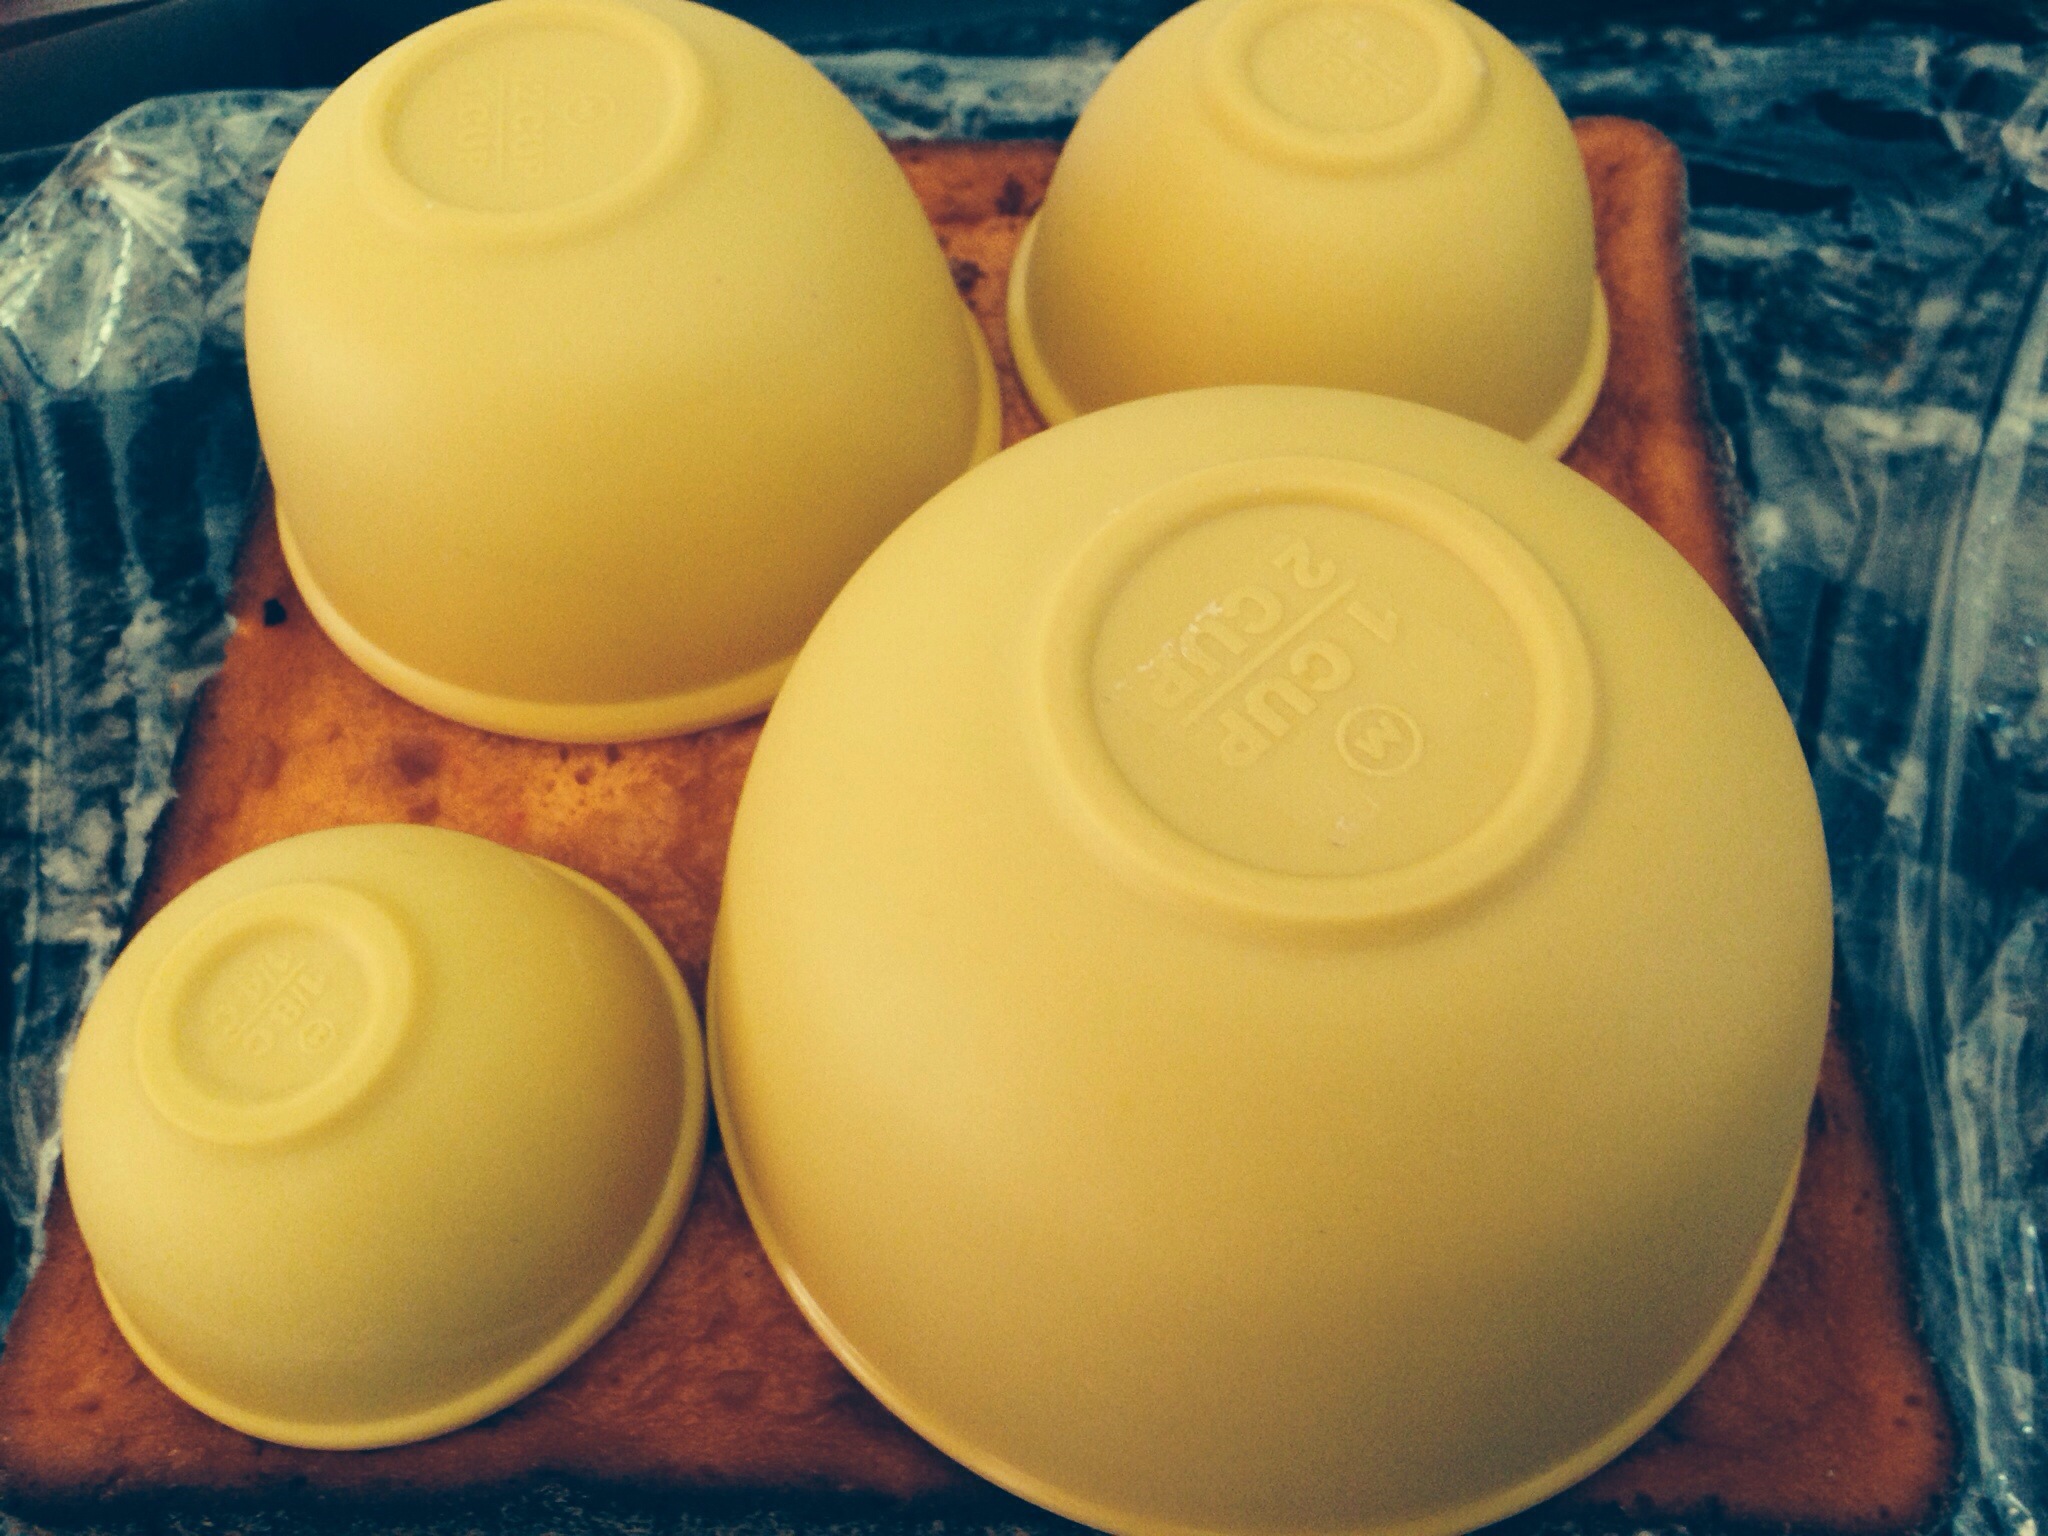
We looked around the house for something that we could use as a guide (we had small bowls) to help create different size circular shapes to help build the pointed the hat.
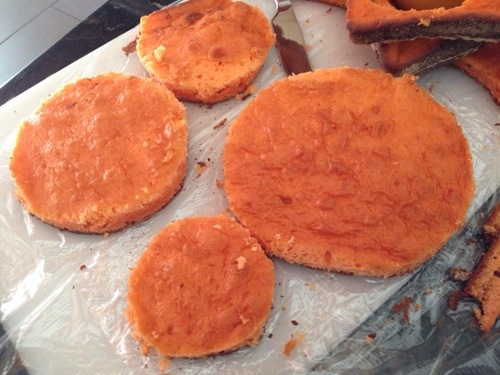
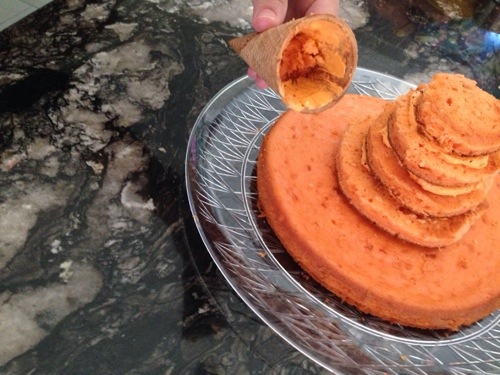
The shapes were cut and laid out for assembly.
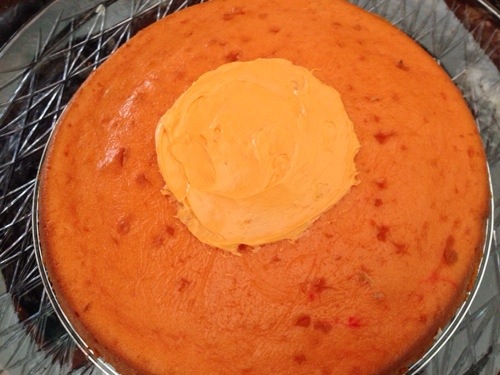
To glue the layers together, store bought frosting was used that was colored light orange by mixing a scant amount of red and yellow food coloring. If you have time to make some thick buttercream frosting that will work nicely too.
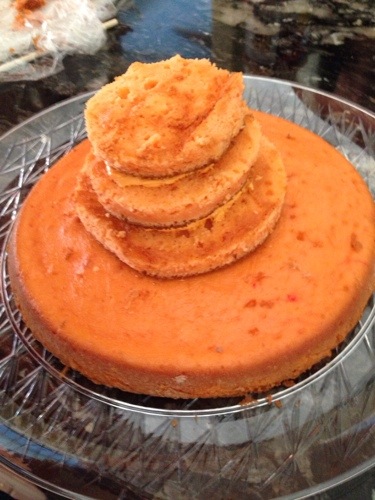
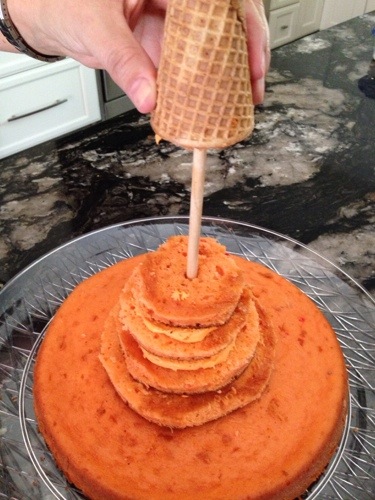
With all of the cakes stacked on top of one another, in order of largest to smallest, it was time to put the cone in place to create a pointed hat effect. More glue-ish frosting was needed in the cone. To keep the pointed hat in place, one large stick is needed. The stick was measured next to the cake, allowing some of the stick to also extend into the cone. Then the stick was cut down by scoring it with scissors. To score the wood, place stick in the scissor opening and gently run the edges of your scissors around the piece of wood to make an indent by applying pressure; snap off the excess.
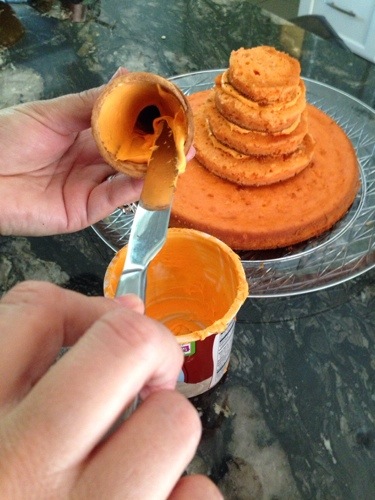
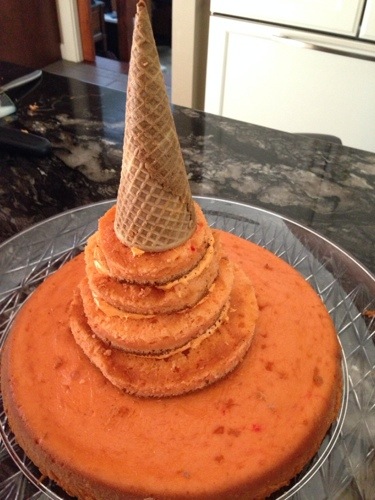
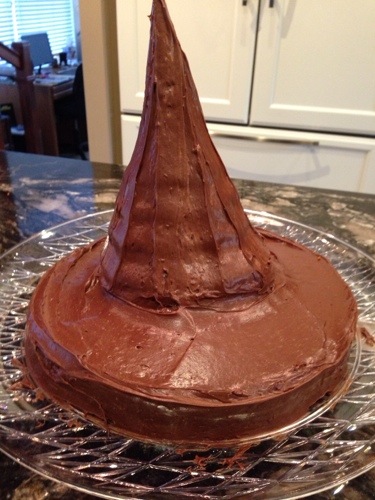
Time to apply your favorite chocolate buttercream frosting. Decorate with gummy worms, fruit strips, candy corns or any other festive candies or decorations.
In my photo scrap book I have a few favorite photos, well lots of favorites really, but I’ve copied over a few to share today.
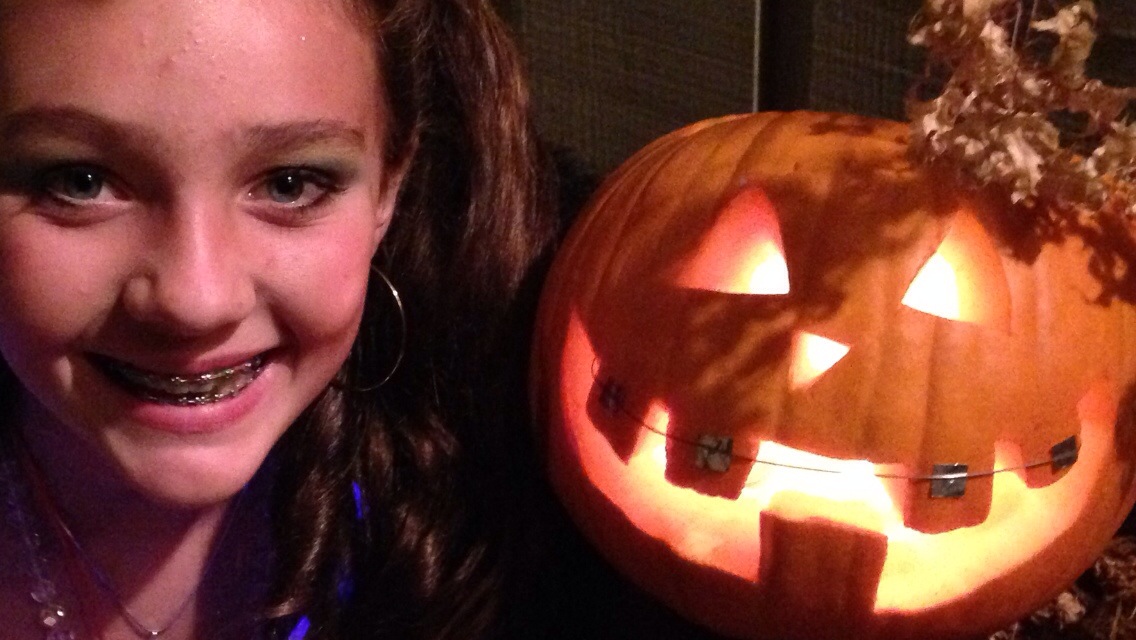
My absolute favorite photo of Prima with her braces, age 12 >she is now 14< with the pumpkin at her orthodontist’s house.
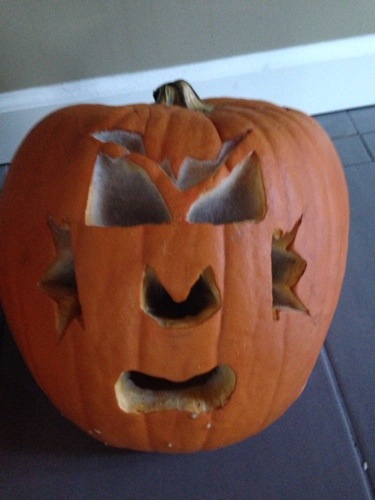
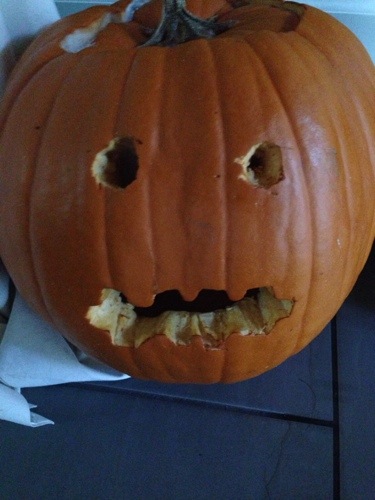
Pumpkins the kids carved when they were 10 and 12 years old. The mold added an extra scary effect!
This is intended to be that ‘awe’ photo. The cousins dress up Bosco as an angel for Halloween.

Fun foods and pics!