I’ve never considered myself a pickle aficionado. I have liked them but not necessarily craved them. That was until I tasted my friend Maria’s bread and butter pickles. They were so fresh and crunchy; it was difficult for me to forget them. These pickles were really unlike any I had ever purchased in the store; probably because they were slightly sweet in taste and not overly salted.
As a restless cook you know something is great if weeks after you’ve eaten it the memory of it becomes the equivalent of a palatable earworm. (Never heard that expression? An earworm, sometimes known as a brainworm, is a catchy piece of music that continually repeats through a person’s mind after it is no longer playing. Only way to remove it is to find another song. In my case, this ‘earworm’ is a memory of a food that just won’t leave my mind until I’ve had it again). While this recipe is similar to one she sent me, I have made it my own without loosing any of her amazing signature tastes.
As summer draws to a close it was important to recapture these flavors for the long winter; just in case my palatable ‘earworm’ resurrects itself when it is least expected. The good news is that the time required to assemble this recipe is reall minimal, especially if you just want to make them and store them in the refrigerator for a few weeks. And if you want to save them for some other time, then canning is recommended. The important thing to note is lead-time. These beauties will need to soak anywhere from 4-12 hours so you’ll want to file this under your “do ahead” list of recipes.
Now back to canning, I find that is something that always concerns people that don’t consider themselves cooks. And I am here to tell you that it’s not nearly as daunting as you might imagine – okay well the first time you do it is a bit perplexing because you have to buy and source all of your products – but once you’ve done it the process it is very straightforward. After that it is easy to become addicted to making your own homemade goodness in adorable glass jars. I have a few friends I refer to as my ‘canning gals’ (Madge and Jessica) and while they were not with me for this pickle project, and Maria lives too far away to jump into the kitchen with me, I introduced my good friends Suzie and Diana (two beautiful canning virgins) to join me in the kitchen for some fun. Canning is always more fun with friends…and even better with adult beverages and snacks; but that is another post unto itself.
As it typically my curse, I haven’t even finished this post and I am already plotting what I will try out next with this base recipe. Okay, I can’t keep it to myself, the food geek in me must let the secret out >dot< >dot< >dot< >suspense builds< mixed vegetables! If you are interested in experimenting I think I would prepare 2 cups each of the following: pickling cucumbers sliced 1/4 inch thick; celery sliced 1/4 inch thick; green beans cut into 1/2-inch lengths; coarsely chopped bell peppers; coarsely chopped cauliflower; and shredded cabbage and some red pepper flakes. Then just follow the recipe below.
Bread and Butter Pickles
Ingredients
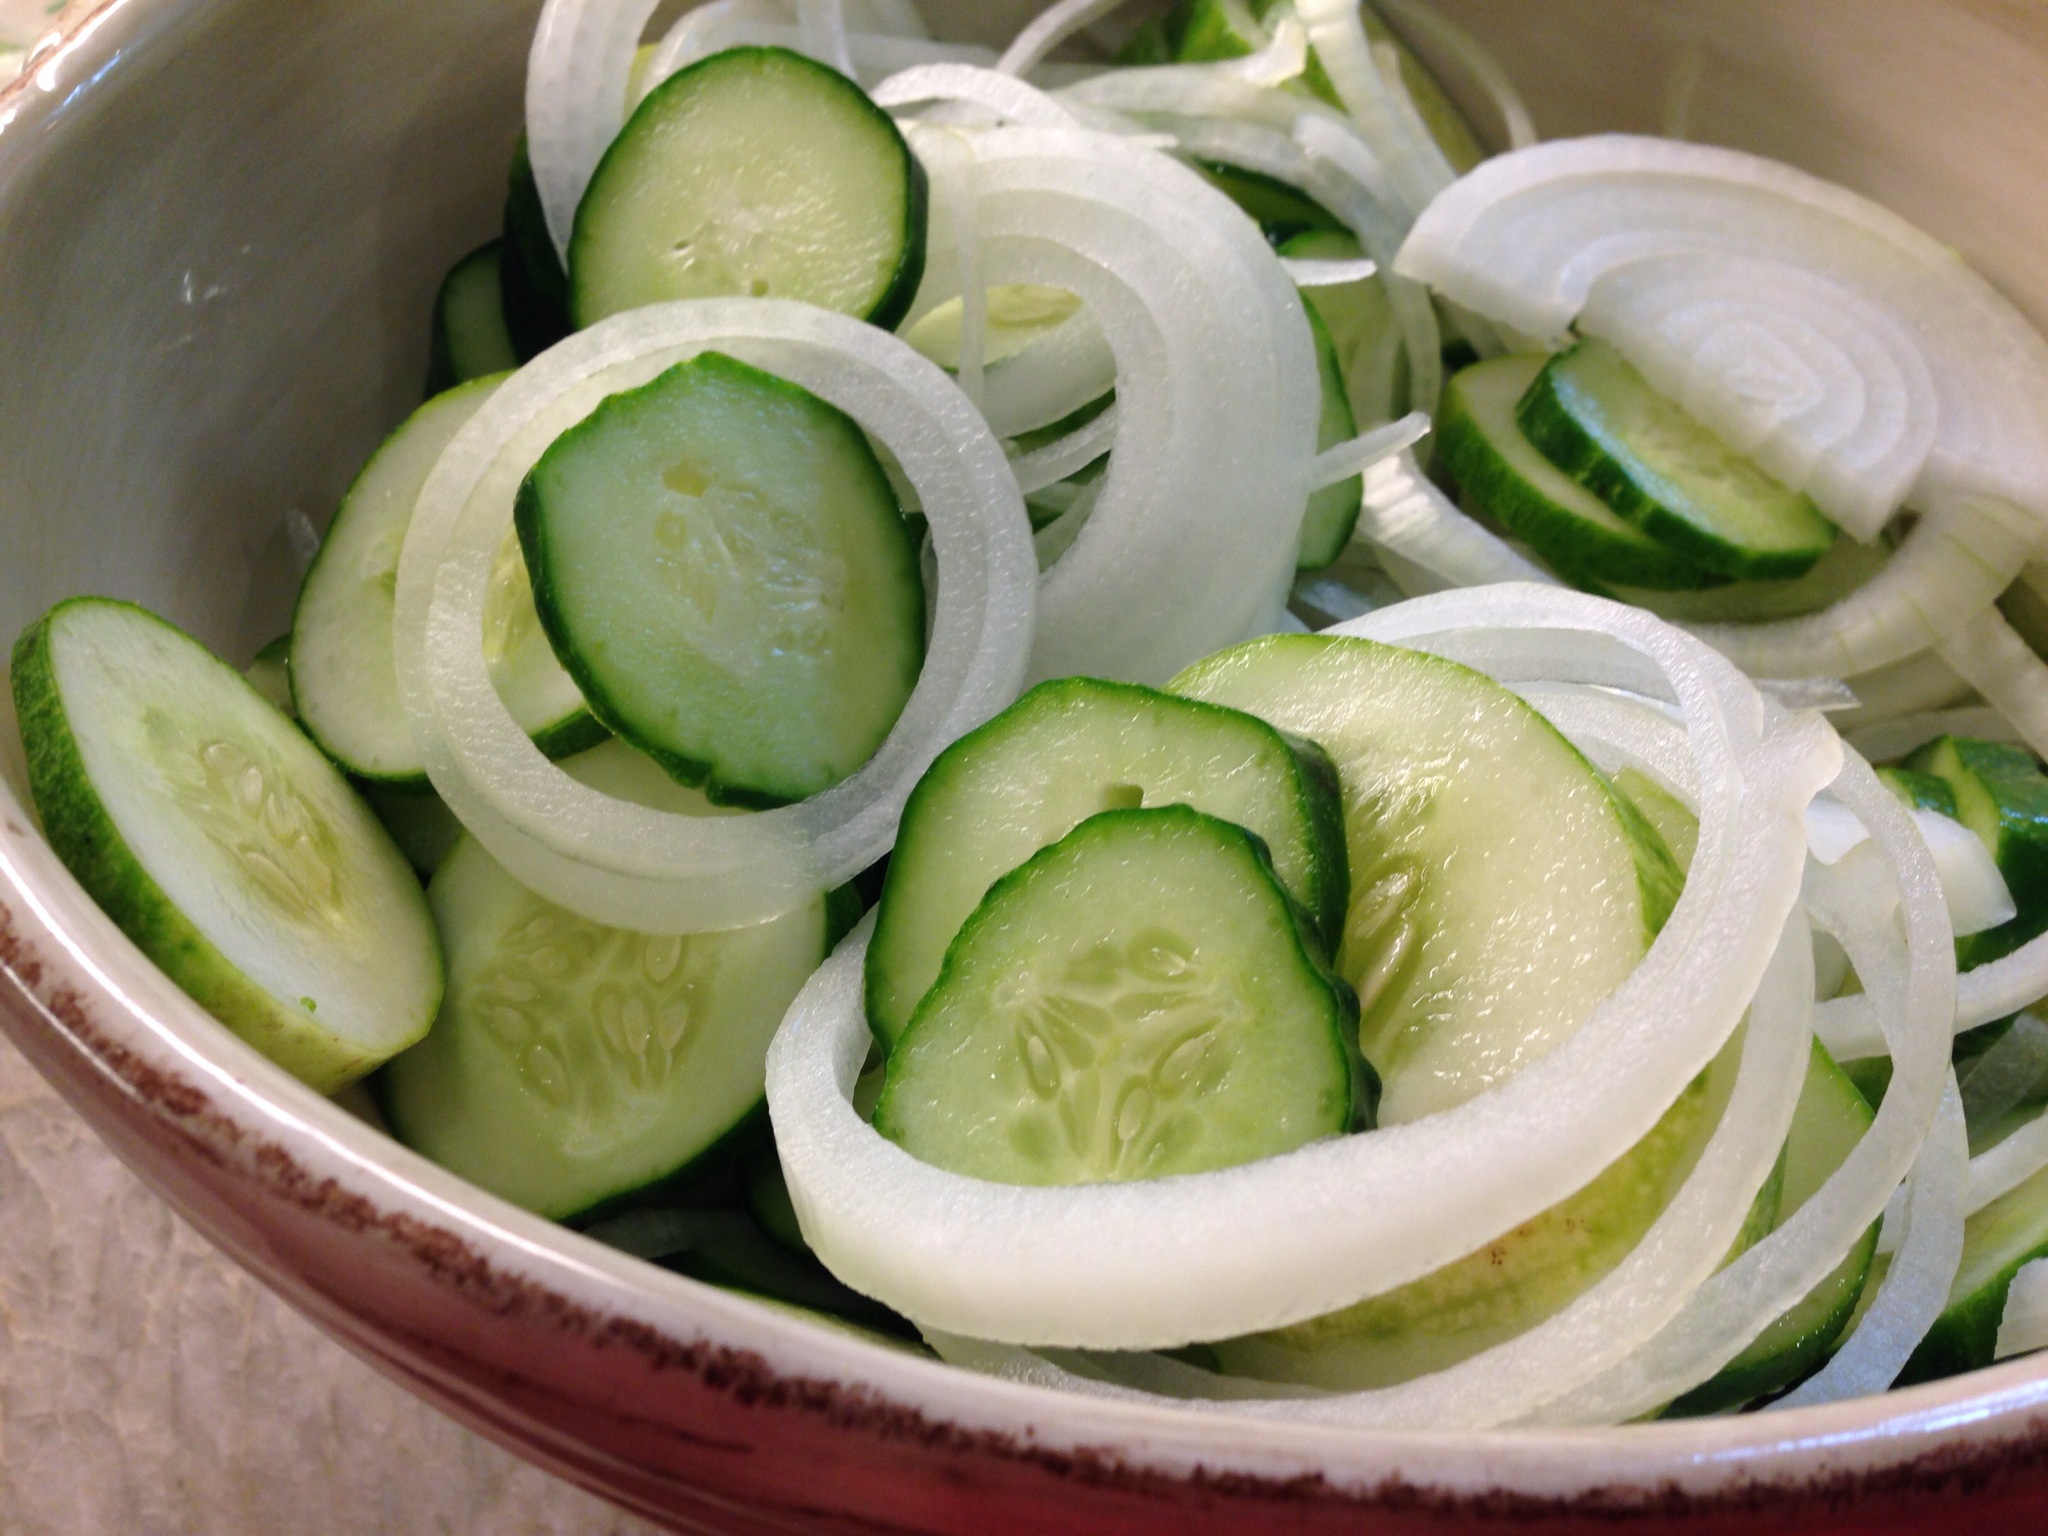
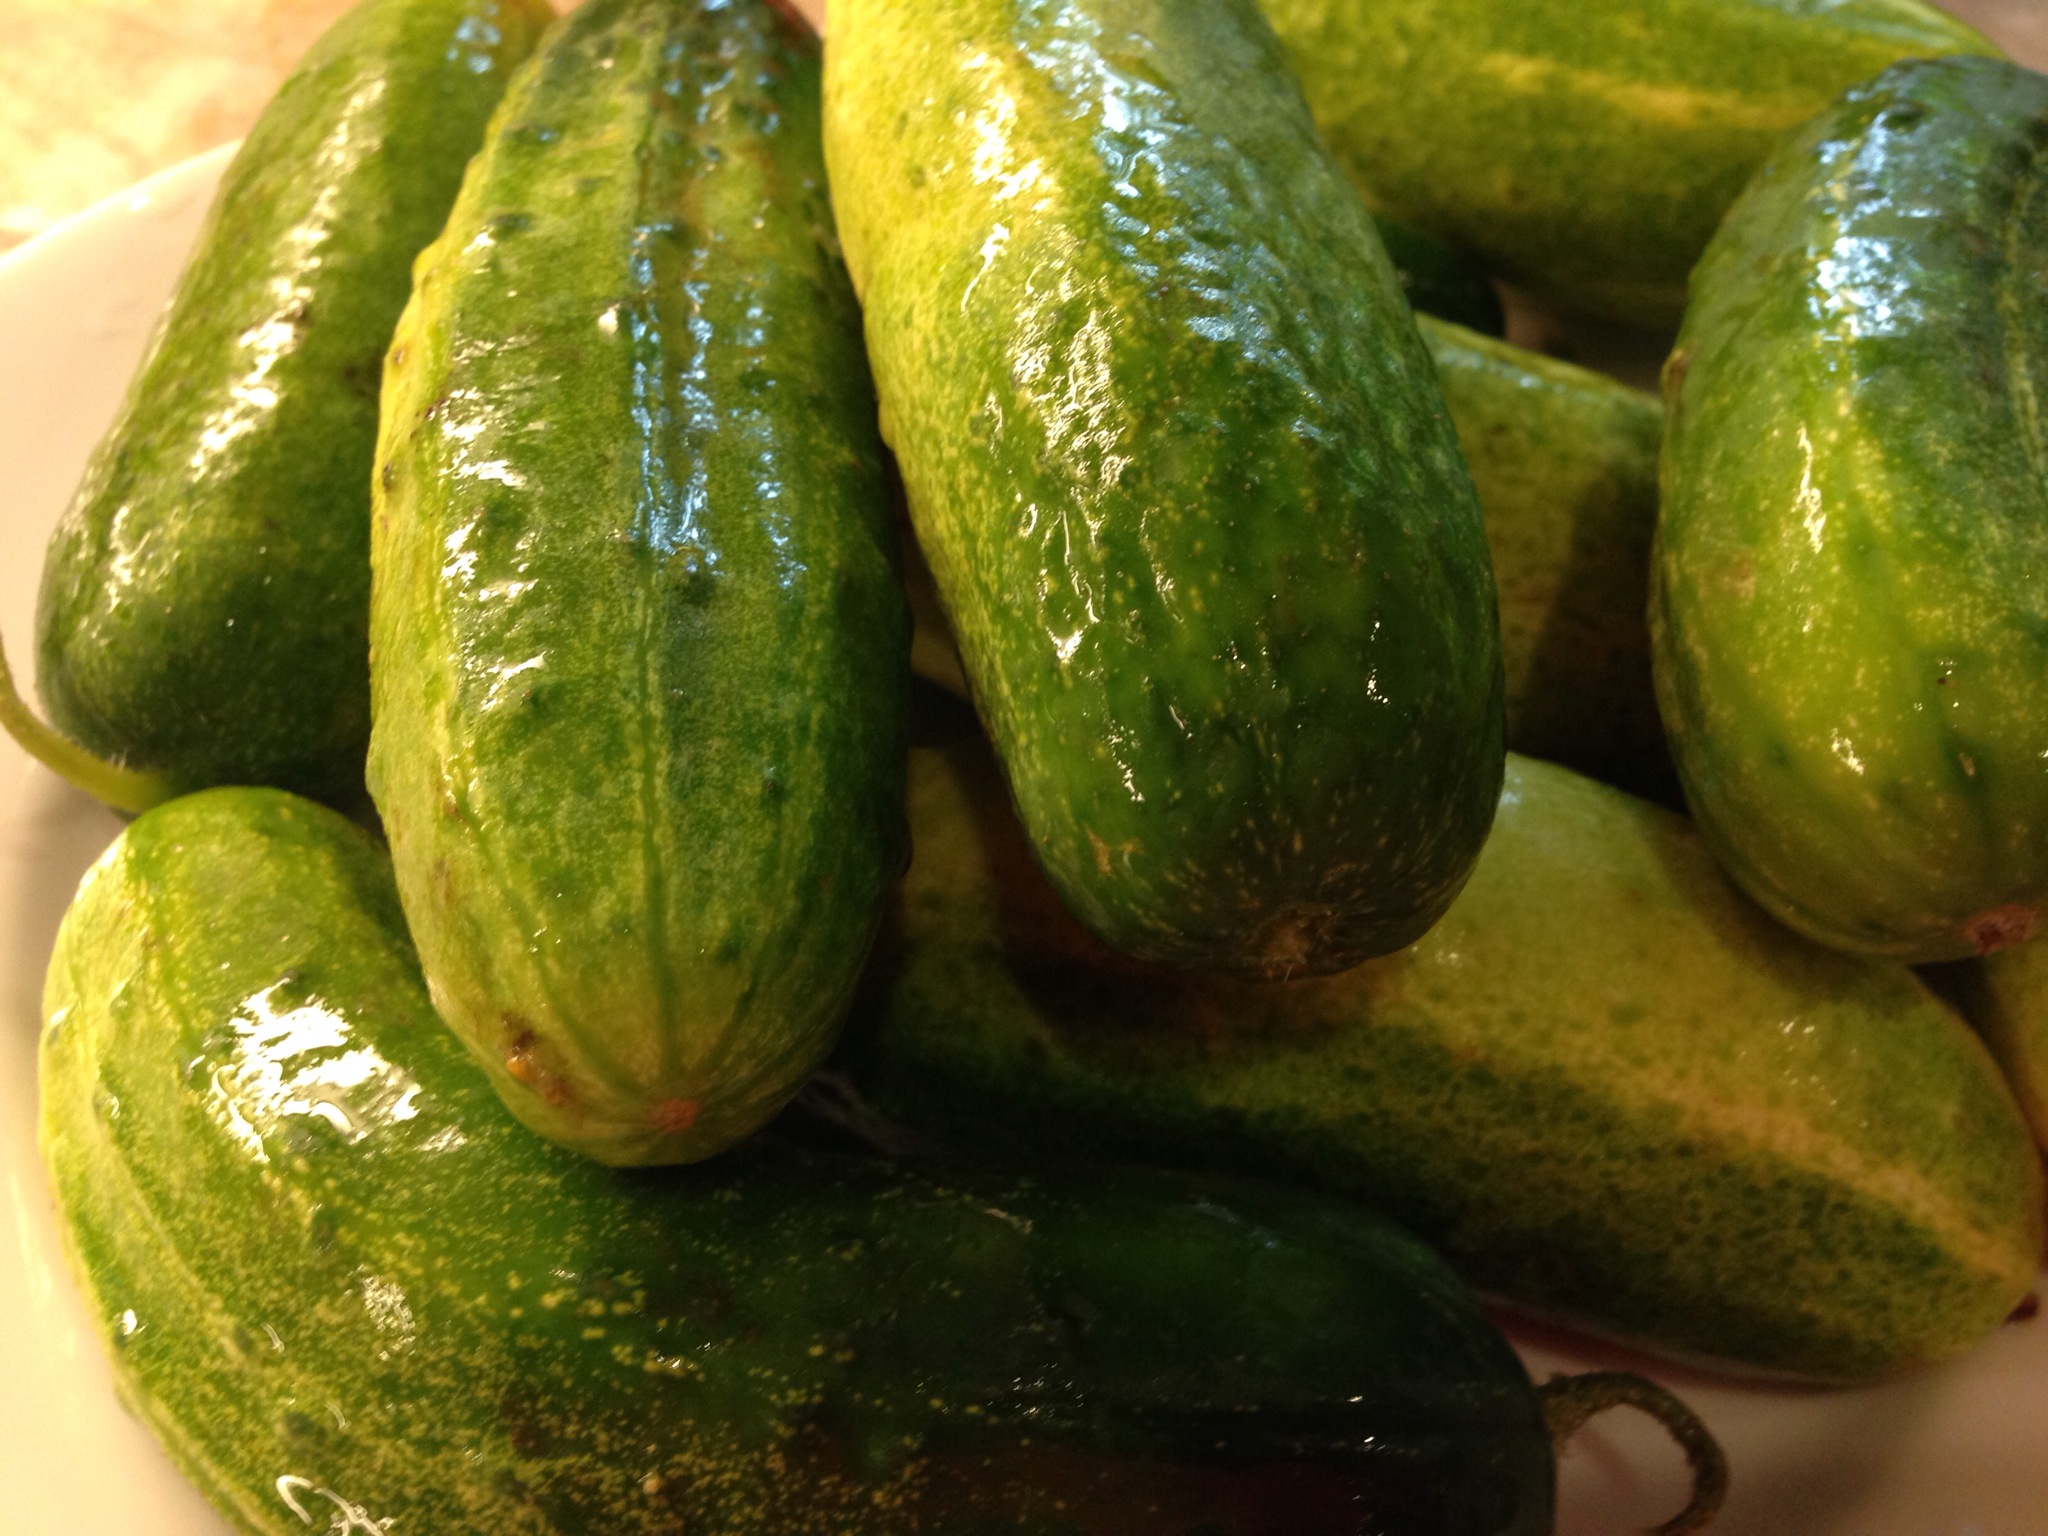
1/2 lbs pickling cucumbers (fresh from the market)
2 1/4 pounds onions (about 4), peeled, halved lengthwise, and thinly sliced crosswise1/2 cup pickling salt (can use Kosher salt as a substitute, regular table salt has additives in it that will turn the pickles dark and muddy the color of the pickle juice)
2 1/4 cup white distilled vinegar or can replace 1 cup w/apple cider vinegar (5% acidity)
2 1/2 cups sugar (if using apple cider vinegar, reduce sugar by ¼ cup)
1 TBS mustard seeds
2 tsps celery seeds
2 tsps ground dried turmeric
If you are planning to store pickles outside of refrigerator, you will need the following canning equipment:
5 pint-sized canning jars, clean, unused lids, metal screw bands for the lids (see canning jars and lids)
1 16-quart canning pot with rack
Jar lifter
Directions
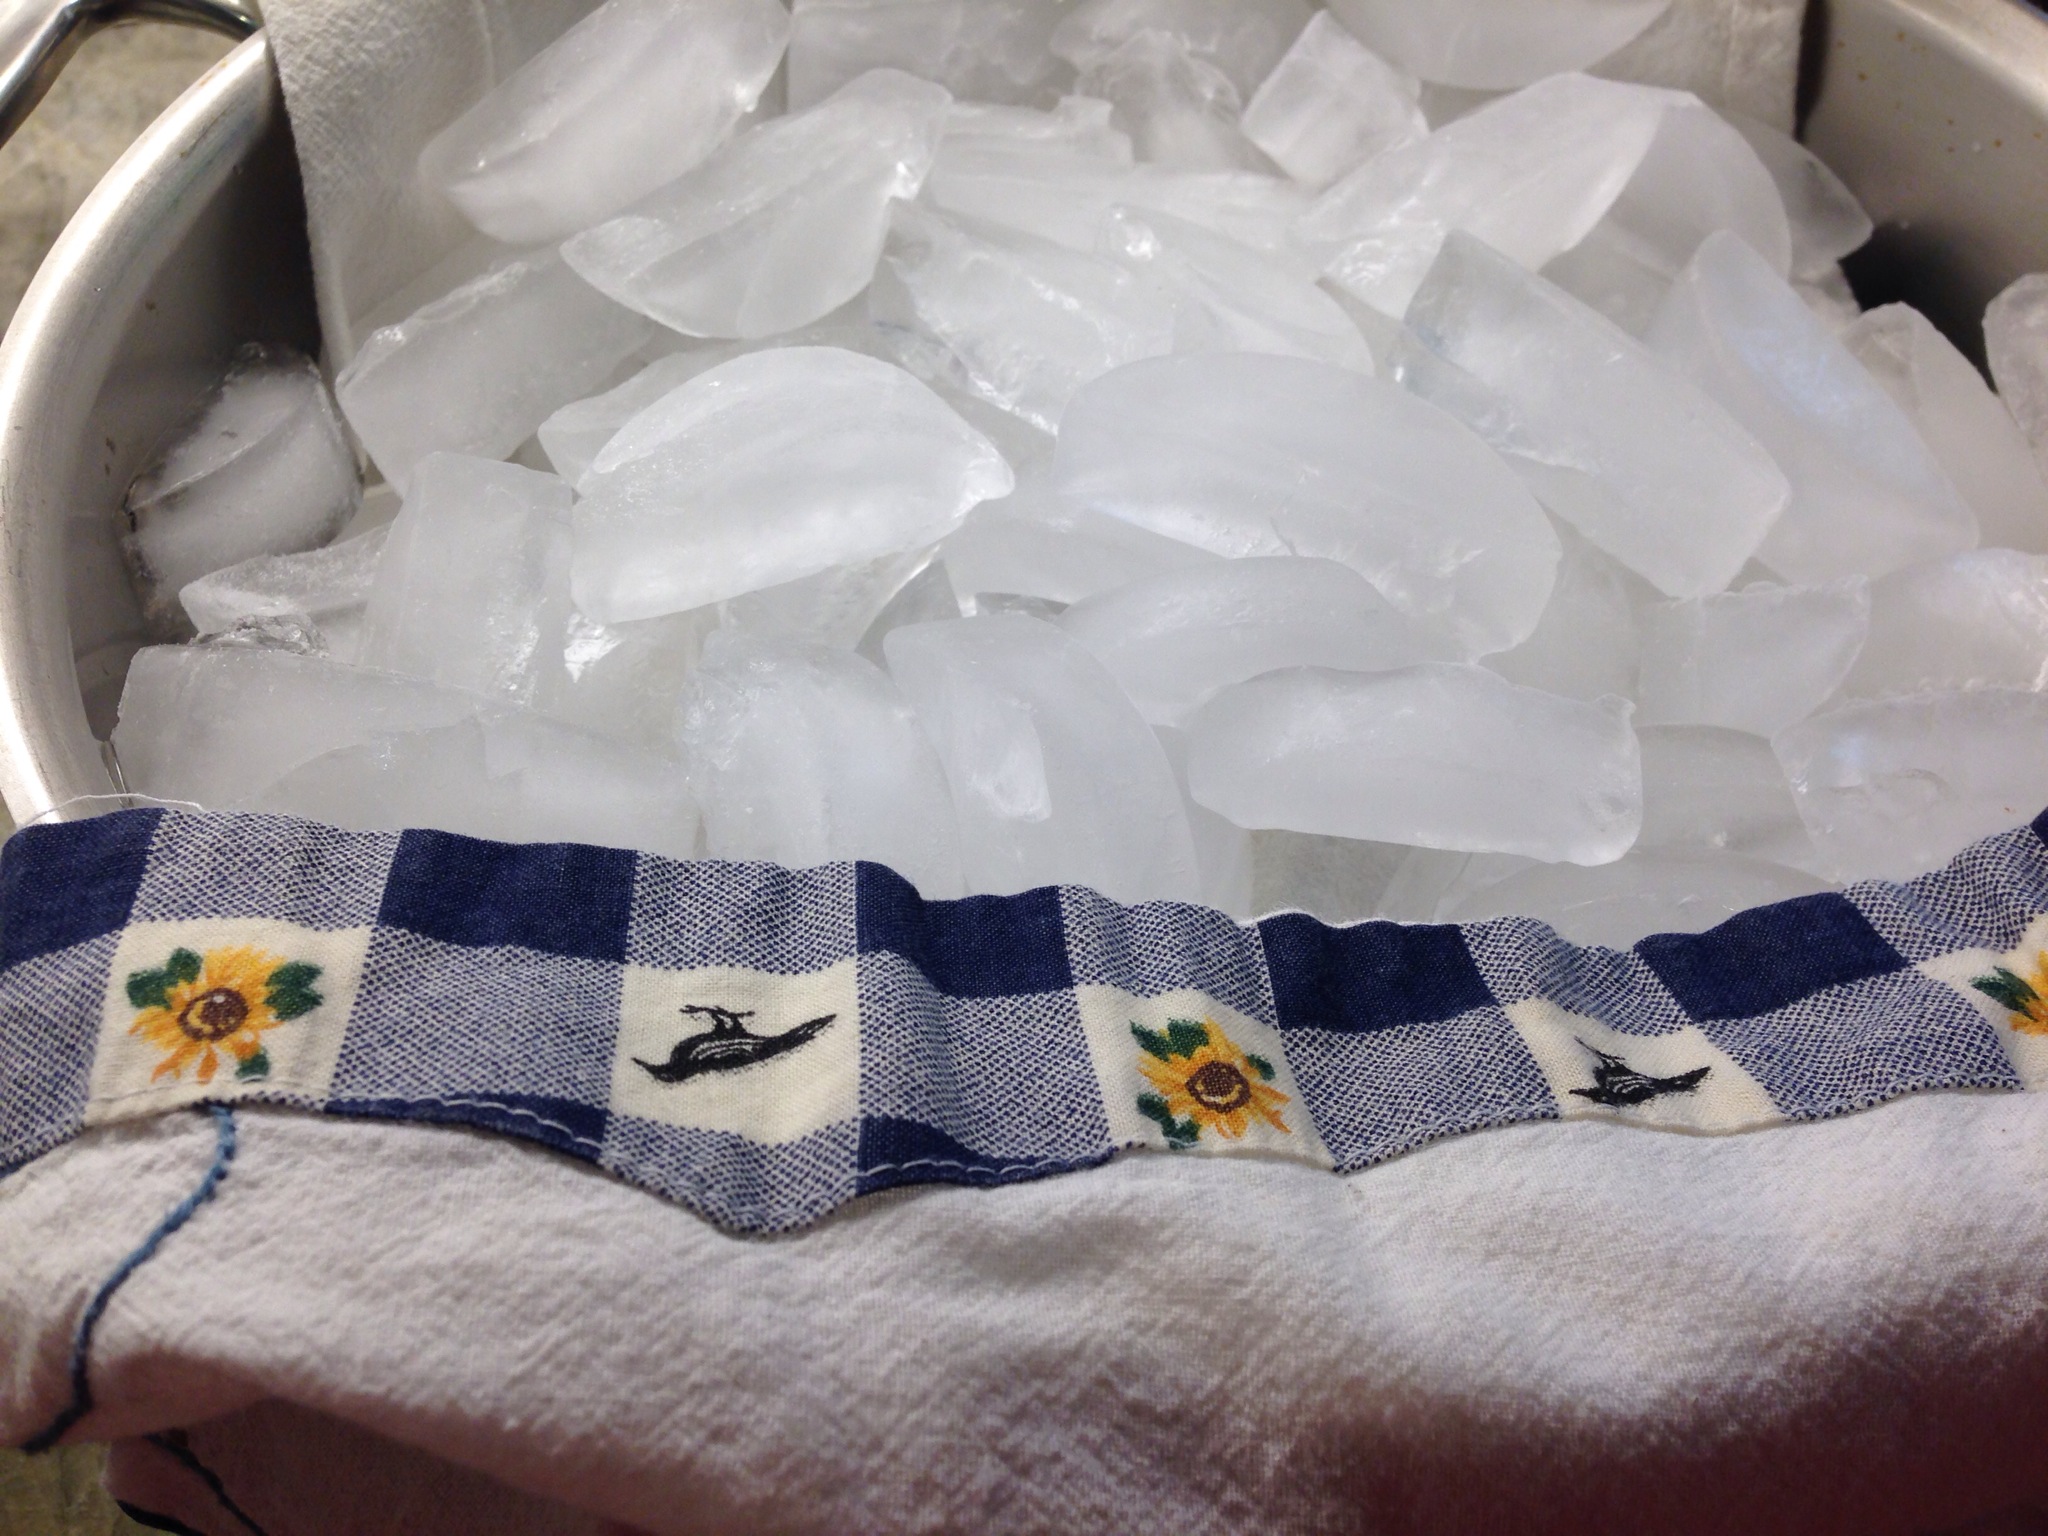
Wash the cucumbers, scrubbing away any dirt that may have stuck to the ribs. Slice off 1/8-inch from the ends and discard. Slice the cucumbers in 1/4-inch thick slices, place in a large bowl. Add the sliced onions and pickling salt. Stir in so that the salt is well mixed with the cucumber slices. Cover with a clean tea towel (thin towel, not terry cloth). Cover with a couple of inches of ice. Place in the refrigerator and allow to chill for 4 -12 hours (can leave up to 24 hours maximum). Discard ice. Rinse the cucumber and onion slices thoroughly, drain. Rinse and drain again.
If eating the pickles right away store them in the refrigerator, and skip the water bath step. However, it’s still a good idea to sterilize the jars first. The ‘short cut method’ is to run them through the dishwasher, or placing them in a 200°F oven for 10 minutes.
Canning? If you are planning to store your pickles outside of the refrigerator for any length of time, it is important to sterilize your jars before canning, and heat the filled jars in a hot water bath after canning. To sterilize the jars for canning, place empty jars on a metal rack in a large, 16-quartt canning pot. (Jars must rest on a rack in the pot, not on the bottom of the pot). Fill with warm water and bring to a boil. Reduce heat to warm to keep the jars hot and ready for canning. Remove with a jar lifter, one by one, as you can the cucumbers. Sterilize the lids by bringing a pot of water to a boil and pouring water over a bowl containing the lids.
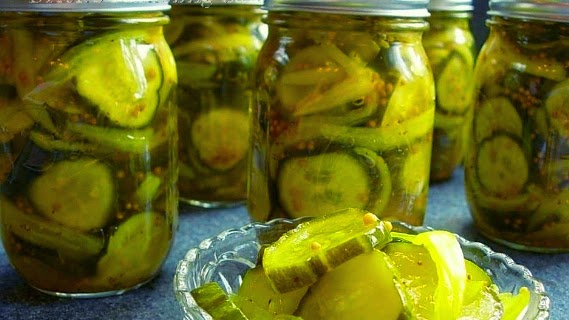
In an 8- 10-quart pan over high heat, bring vinegar, sugar, mustard seeds, celery seeds, and turmeric to a boil, stirring often. Once the sugar has dissolved, add the sliced cucumbers and onions. Bring to a boil, reduce heat and simmer, stirring occasionally, until onions are limp, approximately 2 minutes. Use a slotted spoon to start packing the hot jars with the cucumbers (separate out the onions- these can be canned separately for use on meats and sandwiches.)
First pack a jar to an inch from the rim with the cucumbers. Then pour hot vinegar sugar syrup over the vegetables to a half inch from the rim. Wipe the rim clean with a paper towel. Place a sterilized lid on the jar. Secure with a metal screw band. Using the jar lifter, lower the jars into the canning pot of boiling water.
Process the filled jars in a hot water bath for at least 20 minutes. Return filled jars to the same canning pot with its already hot water. Water level needs to be at least one inch above the top of the cans. Bring to a boil and let boil hard for 15 minutes (High Altitudes: 20 minutes for 1001 to 6,000 feet. Over 6,000 feet, boil for 25 minutes.)
Remove jars from pot. Let cool down to room temperature. Jars should make a popping sound as their lids seal. If a lid doesn’t properly seal, do not store the jar outside of the refrigerator.